Building a cost-effective gaming PC is the goal of many enthusiasts who want quality gaming without breaking the bank. Choosing the right components can seem daunting, but with the right information, you can build a machine capable of running modern games efficiently and affordably.
The key to a cost-effective gaming PC is balancing performance and price. This means prioritizing components that offer high gaming performance, but without overdoing it with features that won't be fully utilized.
Furthermore, compatibility between components is essential to avoid unnecessary expenses or technical problems.
In this article, you'll find a complete guide on how to build a cost-effective gaming PC, including tips on choosing parts, assembly, and a step-by-step tutorial to help you build your setup. Shall we get started?
Processor: The Brain of Your Gaming PC
Choosing the right processor is essential, as it directly influences the performance of your gaming PC.
- Intel or AMD?
AMD is currently known for offering excellent value-for-money processors, such as the Ryzen line. Intel's Core series is ideal for those seeking high performance in specific games.
- How Many Cores Are Enough?
For most games, a 4- to 6-core processor (such as a Ryzen 5 or Core i5) is sufficient. More modern titles may benefit from processors with more cores, but this depends on your budget.
- Economic and Efficient Model:
Examples of popular options include the Ryzen 5 5600 or Intel Core i5-12400, which offer great performance at an affordable price.
Video Card: The Heart of the PC Gamer
The graphics card is the most important component for gaming performance, being the biggest investment in a gaming PC.
- NVIDIA or AMD?
NVIDIA dominates the market with its GeForce GTX and RTX lines, while AMD offers competitive options with its Radeon RX. Both offer affordable and powerful models.
- Choose Based on Resolution:
- 1080p (Full HD): Cards like the GTX 1660 Super or RX 6600 offer great performance.
- 1440p or 4K: More robust models, such as the RTX 3060 or RX 6700 XT, are recommended.
- Avoid Exaggeration:
Don't spend more than necessary on a graphics card if you only plan to play at lower resolutions or medium settings.
RAM: The More, the Better?
The amount of RAM directly influences the fluidity of games and simultaneous tasks.
- Ideal Capacity:
The recommended minimum for a gaming PC these days is 16GB of RAM. This allows you to run most modern games smoothly.
- Speed:
Frequencies between 3000MHz and 3600MHz are ideal for maximizing gaming performance.
- Dual Channel:
Use two RAM sticks to take advantage of Dual Channel technology, which increases communication speed with the processor.
Storage: SSD or HD?
Adequate storage is essential for a fast and responsive gaming PC.
- SSD for Speed:
SSDs (Solid State Drives) are essential for fast game load times. A 500GB SSD is enough to get started.
- HD for Capacity:
For storing large games or files, a 1TB hard drive is an economical choice.
- Ideal Combination:
Use an SSD for your operating system and most-played games, and an HDD for backups and other files.
Power Supply: Don't Skimp on Safety
The power supply is responsible for powering all components, and choosing a quality one is crucial.
- Power Required:
An average gaming PC typically requires a 500W to 650W power supply.
- 80 Plus Certification:
Ensure energy efficiency with certified sources (Bronze, Silver or Gold).
- Trusted Brands:
Corsair, EVGA, and Seasonic are brands known for their reliability.
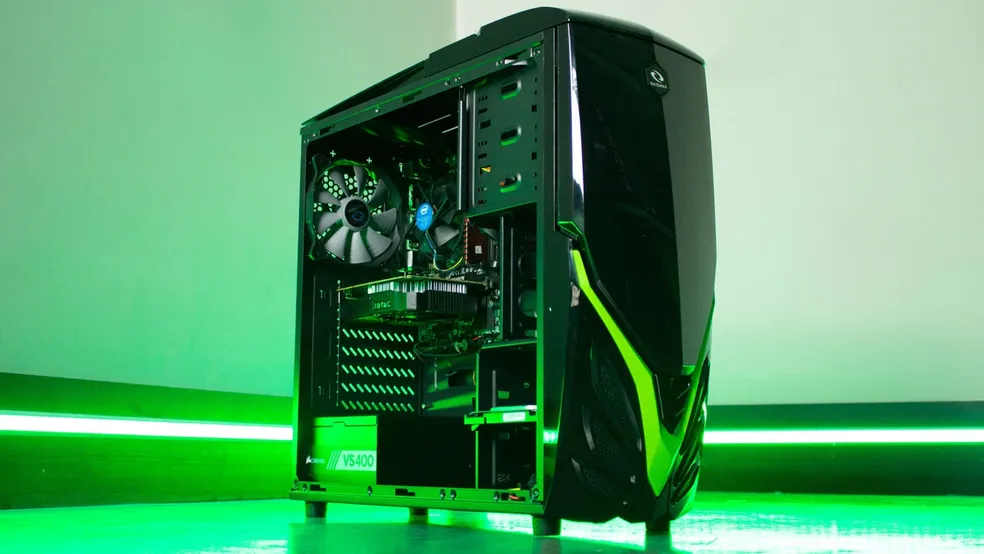
Cabinet and Cooling System
The case is the home of your gaming PC, while cooling ensures that the components run without overheating.
- Well-Ventilated Cabinet:
Choose a model with good air circulation and room for future upgrades.
- Coolers and Fans:
Processors and graphics cards already come with basic cooling solutions, but adding additional fans can improve thermal performance.
- Aesthetics vs. Functionality:
Remember to prioritize functionality over aesthetics. A beautiful but poorly ventilated case can cause problems.
Tutorial: How to Build Your Gaming PC Step by Step
- Organize Your Components:
- Make sure you have all the necessary parts and tools before you begin.
- Prepare the Cabinet:
- Install the power supply and additional fans in the case.
- Assemble the Processor and RAM:
- Carefully insert the processor into the motherboard socket.
- Install the RAM sticks into the corresponding slots.
- Attach the Motherboard to the Case:
- Use the appropriate screws to secure the motherboard to the case.
- Connect the Video Card:
- Insert the video card into the PCI-Express slot and secure it with screws.
- Install Storage:
- Connect the SSD or HDD to the motherboard and power supply.
- Connect the Cables:
- Connect the power, data, and fan cables as directed in the manual.
- Check Everything:
- Before turning on, make sure all cables are connected correctly and there are no loose parts.
- Install the Operating System:
- After turning on your PC, install Windows or another operating system of your choice.
- Test Performance:
- Use programs like Cinebench or games to check if everything is working correctly.
Conclusion
Building a cost-effective gaming PC can seem challenging, but with planning and the right choices, it's possible to build a powerful machine without breaking the bank. Prioritize components that meet your needs and are compatible with each other.
Plus, building your own PC isn't just economical, it also offers the satisfaction of creating something custom. Now that you know the steps, you're ready to build your gaming setup and enjoy hours of fun!